
Gaming content is one of the most popular and fastest growing categories on YouTube, and thus lots of new people will start their gaming YouTube channel in 2025. But in these highly competitive niche one thing that can make you and your content different from others is video editing. If you’re a gamer looking to grow your channel, mastering the art of video editing is crucial. Raw gameplay video is bearing to see, but what really draws viewers attention is how you present it. Clean cuts, engaging commentary, creative effects, and a compelling narrative can turn ordinary clips into binge-worthy content.
In this guide, we’ll walk you through the step-by-step process of editing gaming videos for YouTube—whether you’re a beginner or looking to refine your skills.
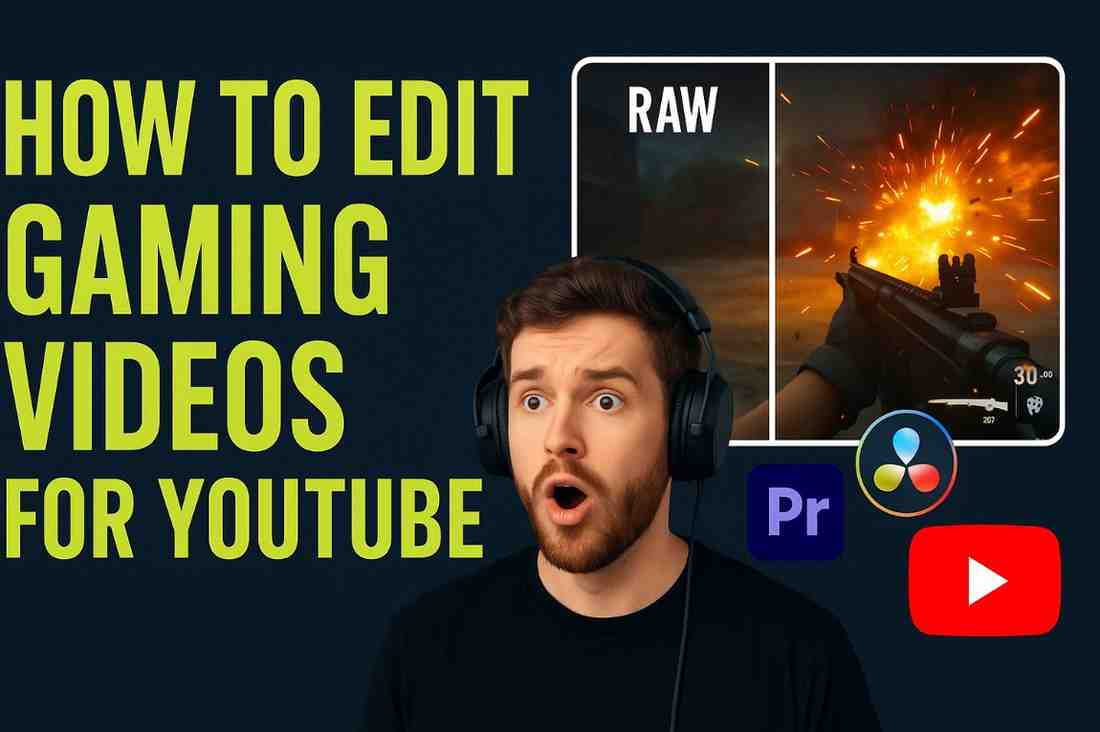
Step 1: Choose the Right Editing Software
Before diving into the how to edit gaming videos we have to pick the right editing software. There are many editing softwares available in the market, but you should choose that fits in your skill level and goals. Some popular choices include:
- Beginner-Friendly:
- iMovie (Mac) – Great for basic edits and free on macOS.
- Clipchamp (Windows) – Free and simple, with good gaming templates.
- CapCut – Now available on desktop with effects and transitions.
- Intermediate to Advanced:
- Adobe Premiere Pro – Industry standard with powerful tools.
- DaVinci Resolve – Professional and has a free version.
- Final Cut Pro (Mac) – Great performance and seamless Apple integration.
Choose one that matches your needs and hardware capabilities.
You can check this blog post to know about Top 5 Free Video Editing Software for Beginners in 2025
Step 2: Organize Your Files
If you want to do a clean and hassle-free editing then you should first organize your all gameplay videos, Face Cam or webcam recordings, Voice Overs or commentary audio, Background music, Sound effects (SFX) and Overlays and graphics (sub, like, bell icons, etc.). This saves time and helps you stay focused when building your timeline.
If your files are not organized properly then your editing work will be messy, and it will take more time also.
Step 3: Trim the Fat
After successfully organising your all files then you can move to the next step. In this step your first task is to cut out the boring parts. In today’s time nobody wants to watch a 2 hour of uncut gameplay video unless it is a live stream.
Remove all loading screens, pauses and uneventful gameplay parts from your video. Keep only highlight parts like kills, clutch moments, funny fails, or cool achievements.
Use the cut or razor tools to slice the video into shorter clips. You can use shortcut buttons to do it. These things keep your video engaging and increases watch time, which is vital for YouTube growth.
Step 4: Add Transitions and Effects (But Don’t Overdo It)
Transitions smooth out your cuts in your video, especially when jumping between clips or scenes. But do not use too many transitions in your video. Because it can make your video more difficult to understand.
You can use Fade in/out transitions in your videos intro and outro part to make it more visually appealing. Other than that, you can use Zoom/pan effects to emphasize important moments in your video.
To learn more about transitions you can read this blog post The Essentials and When to Use Them
Step 5: Add Commentary or Voiceover
Commentary or voiceover is the most crucial part in your video. It makes your video engaging and different from other creators. If you’re recording in real-time, sync your mic audio with the gameplay. If doing a post-edit voiceover then first write a rough script to guide your talking points and then remove background noise from it, you can use tools like Audacity. It is free software and used by industry professionals. And lastly match your energy with the pace of the gameplay—slow narration during fast action kills the vibe.
Great commentary makes your viewers feel like they’re playing with a friend.
Step 6: Use Background Music & Sound Effects
Use a good background music and sound effects to your gaming videos. It can set the tone and keep the video engaging. Just make sure to use copyright-free or licensed music. You can get it from YouTube Audio Library, Epidemic Sound or Stream Beats by Harris Heller
Add subtle background music and pump up the volume during quiet gameplay. Also, use sound effects for jump scares, button clicks, or meme inserts to add humor and drama.
Step 7: Add On-Screen Graphics and Subtitles
Graphics can enhance your branding and viewers interaction. You can add some good intro/outro screens, Lower thirds (e.g., “Follow me on Twitter”), like, subscribe, bell icons to your videos lower portion. These call to action steps can have a huge impact on your overall video and channel. Some gamers also add Kill counters, scoreboards, etc to their live stream.
Subtitles or captions can improve retention, especially if your mic audio isn’t very clear. Tools like AutoSub or Premiere’s Auto Captions can help generate these quickly.
Step 8: Create a Catchy Intro & Outro
Studies say that if you do not retain your viewers attention for the first 5 seconds then there is a high probability that viewers will not watch your video fully. To retain your viewers attention to the first 5 seconds you can use some hooks in your videos starting, like you can show a quick highlight clip as a teaser or use a branded intro animation (keep it under 5 seconds).
Also you can add a good animated intro to your gaming videos starting, that makes your brand more visible to the viewers.
These help build a consistent brand and keep your audience engaged across multiple videos.
Step 9: Export in the Right Format
Your editing is complete—now you can export your video in the best quality for YouTube. Resolution of a video depends upon the software you use and the hardware in which you edit your video. Some softwares restrict the video quality to a certain limit for free users and if you want to export your video to higher quality then you have to upgrade your subscription. Generally for gaming YouTube videos this is the best preset to follow:
- Resolution: 1080p (1920×1080) or 4K (3840×2160)
- Frame rate: Match your gameplay (usually 30fps or 60fps)
- Format: MP4 (H.264 codec)
Most software has presets for “YouTube 1080p,” which you can use to make this step easier.
Final Thoughts
Editing gaming videos is not just cutting clips, it’s about storytelling, engagement, right transition use, and right background music use. The better your edits, the more professional your content looks, and the more likely viewers will stick around, subscribe, and come back for more.
Start simple, improve over time, and most importantly—have fun with it. The more passion you bring into your editing, the more your viewers will feel it.
Hi, my name is Gourav Karmakar and i am a content writer. Pan Card Photo Resize is my passion project where users can access different types of tools for free.